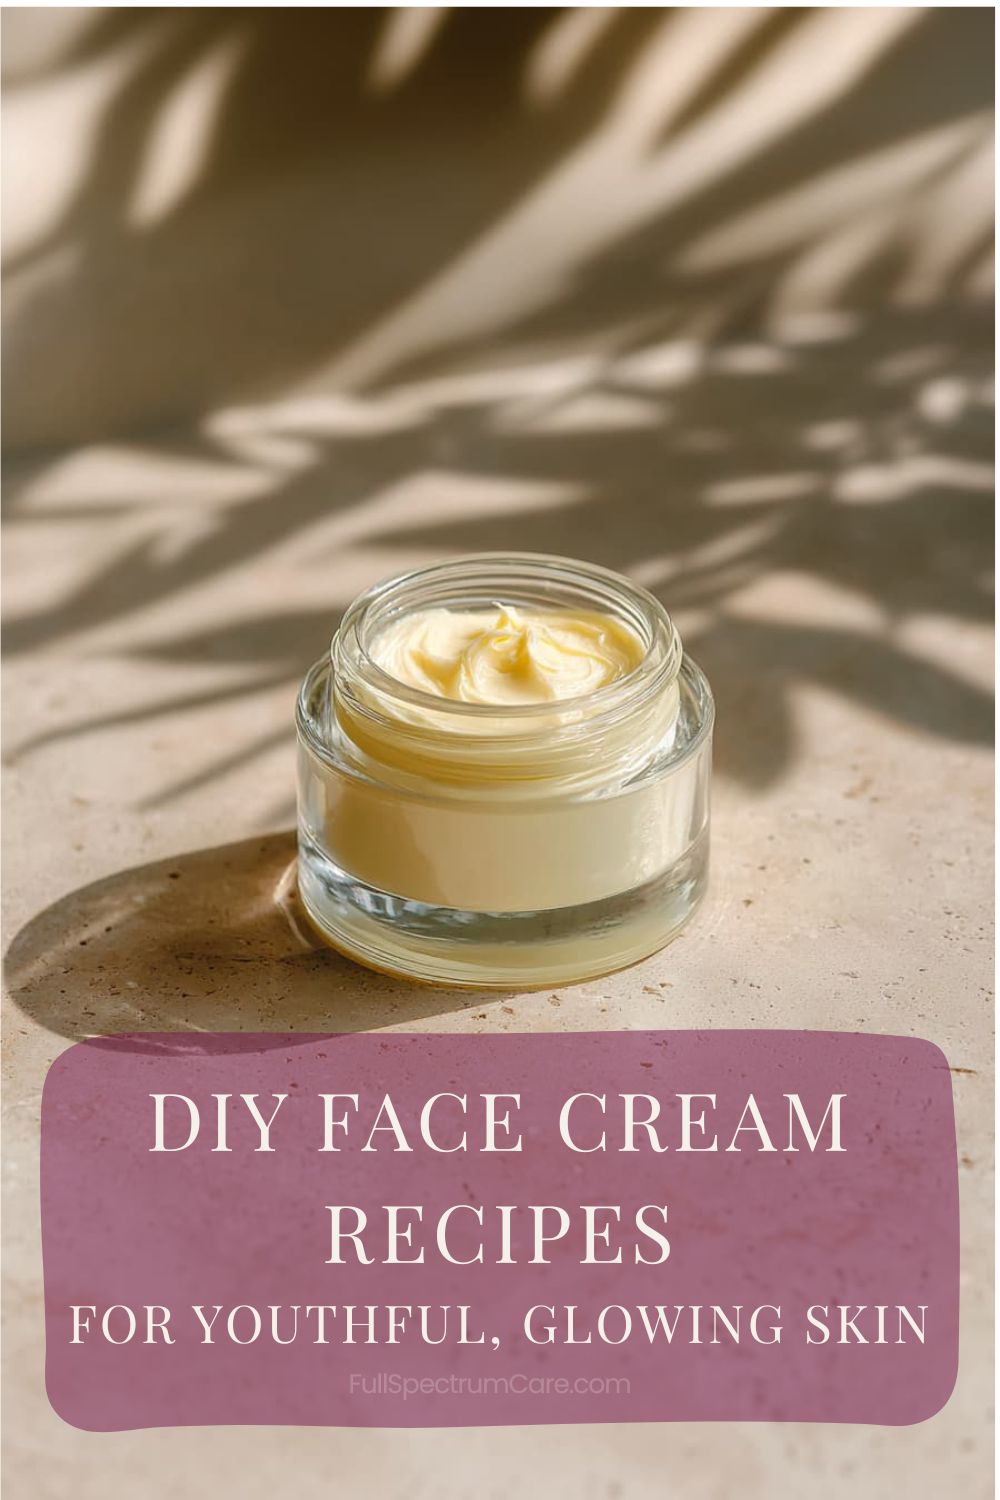

Creating your own face cream at home allows you to control every ingredient that touches your skin. Homemade moisturizers are rich, customizable, and free from unnecessary fillers, making them ideal for long-term skin health and graceful aging.
Whether you are looking for a light daily diy moisturizer or a deeply nourishing night cream, these DIY face cream recipes provide a solid foundation for natural skincare.
Below you’ll find a simple DIY face cream method and several homemade face moisturizer recipes.
Understanding the Structure of a Homemade face Cream
A basic diy face cream consists of three main components:
- Water phase (≈60%) – floral waters, herbal teas, aloe juice
- Oil phase (≈30%) – carrier oils and butters
- Emulsifiers & additives (≈10%) – beeswax, lecithin, vitamins, essential oils
Scientific research shows that plant-based oils and lipids help support the skin barrier and reduce moisture loss.
Why emulsifiers matter
Oil and water do not naturally mix. Emulsifiers bind them together into a stable cream.
Common natural emulsifiers include:
- beeswax
- borax
- soy lecithin
Without an emulsifier, the homemade face moisturizer will separate.
Additives: preservation & function
- Vitamin E & Vitamin C act as mild natural antioxidants
- Essential oils provide scent and targeted skin benefits
How to Make a Basic Homemade face Moisturizer
General Preparation Method
- Heat oils and butters in a water bath to 170°F (75°C).
- Add the emulsifier and stir until melted.
- Slowly pour in heated water (also ~170°F), stirring constantly.
- Continue stirring until the mixture thickens.
- Allow to cool slightly, then add vitamins and essential oils.
- Pour into a sterilized glass jar.
- Cover with a clean cloth and let cool completely before sealing.
Always sterilize jars by boiling them for 10 minutes.
If you enjoy DIY skincare, you may also love our collection of whitening face masks for glowing, even-toned skin.
DIY Skin Care: Basic Moisturizer recipes for Young & Glowing Skin
1. Basic Day Cream for Everyday Hydration
Water phase
- Calendula or jasmine floral water – 136 ml
- Aloe vera gel – 10 ml
- Vegetable glycerin – 10 ml
Oil phase
- Avocado oil – 20 ml
- Castor oil – 8 ml
- Wheat germ oil – 4 ml
- Cocoa butter – 8 ml
- Beeswax – 16 g
Additives
- Vitamin E – 2 ml
- Brewer’s yeast – 4 g
- Essential oils – 2 ml
✔ If the cream is too thick, increase the water phase by 1–2%.
2. DIY Daily Face Cream for Mature Skin
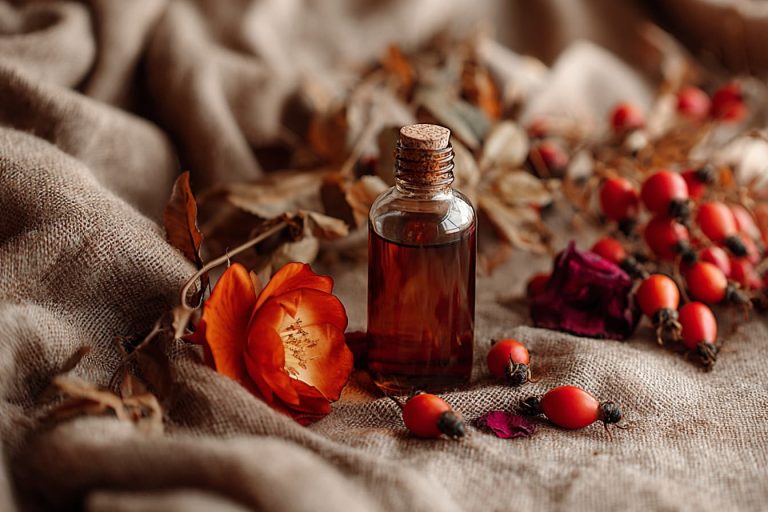
- 3½ tbsp rosehip oil or evening primrose oil
- 1 tbsp beeswax
- 7 tbsp distilled or mineral water
- ½ tsp vegetable glycerin
- Vitamin E
- 25 drops essential oils (immortelle, geranium or lavender)
This cream supports elasticity, radiance, and daily protection for mature skin.
3. Night Care – DIY Anti-Aging Face Cream
Water phase
- Calendula tea or floral water – 90 ml
- Aloe juice – 20 ml
- Vegetable glycerin – 4 ml
Oil phase
- Avocado oil – 26 ml
- Castor oil – 10 ml
- Wheat germ oil – 12 ml
- Shea butter – 16 ml
Emulsifiers
- Beeswax – 15.6 g
- Borax – 0.4 g
- Soy lecithin – 2 g
Additives
- Vitamin E – 2 ml
- Brewer’s yeast – 2 g
- Essential oils – 4 ml
This is a deeply nourishing night cream designed for skin regeneration.
4. Homemade Moisturizer Recipe for Mature Skin (35+)
- 1 oz beeswax
- 1 oz cocoa butter
- 2.6 oz distilled or mineral water
- 1½ tsp borax
- 8 drops sandalwood essential oil
- 5 drops neroli essential oil
Method:
Melt beeswax, add cocoa butter and whip until smooth. Add borax, then slowly pour in hot water while whipping. Cool, then add essential oils.
Store in a sterilized glass jar in a cool place.
Choosing the right oils is essential for mature skin, explore our guide to the best natural oils for anti-aging, hydration and radiance.
Why These Ingredients Work
- Calendula – heals, regenerates, soothes pigmentation
- Castor oil – seals moisture, improves brightness
- Aloe vera – hydrates deeply and repairs skin tissue
- Vitamin E – antioxidant, slows visible aging
- Vitamin C – boosts collagen, brightens skin tone
- Vegetable glycerin – improves elasticity and hydration
- Brewer’s yeast – rich in B vitamins for skin vitality
- Essential oils – tone, nourish and support skin balance
Customize Your diy face Cream
You can mix and match:
- carrier oils
- essential oils
- herbal extracts
- vitamins
Adjust recipes based on age, skin type, and season.
Suggested Variations & Custom Blends
One of the greatest advantages of homemade skincare is flexibility. Once you understand the basic structure of a cream, you can easily adapt it to your skin’s changing needs.
For Dry or Dehydrated Skin
- Replace part of the water phase with rose water or chamomile tea
- Add sweet almond oil or argan oil for extra softness
- Increase vegetable glycerin slightly for better moisture retention
Ideal during colder months or when skin feels tight and dull.
For Oily or Combination Skin
- Use lighter oils such as jojoba, grapeseed, or hazelnut oil
- Reduce heavy butters like cocoa or shea
- Add witch hazel or green tea infusion to the water phase
These adjustments help balance sebum without stripping the skin.
For Sensitive or Reactive Skin
- Keep essential oils to a minimum or skip them entirely
- Choose calming herbs like calendula, chamomile, or lavender
- Avoid citrus essential oils and strong fragrances
Less is more when working with sensitive skin.
For Mature Skin (35+)
- Enrich the oil phase with rosehip, evening primrose, or pomegranate seed oil
- Add vitamin E and wheat germ oil for antioxidant support
- Use essential oils like immortelle, neroli, or frankincense
These ingredients support elasticity, regeneration, and radiance.
Seasonal Adjustments
- Summer: lighter textures, more hydrosols, fewer butters
- Winter: richer oils, protective waxes, deeper nourishment
- Transition seasons: balance hydration and protection
Listening to your skin is more important than following one fixed recipe.
For an added glow boost, pair your DIY face cream with our Ice Cube Facial ritual for refreshed, radiant skin.
Start with small batches. Keep notes on what your skin loves and how it reacts over time. Homemade skincare is a ritual of learning, tuning in, and creating products that truly serve you.
Quick Customization Table: Build Your Perfect Homemade Face Cream
| Skin Type / Need | Water Phase (Hydration) | Oil Phase (Nourishment) | Add-Ons & Actives | Essential Oils (Optional) |
|---|---|---|---|---|
| Dry / Dehydrated Skin | Rose water, chamomile tea, aloe juice | Sweet almond, argan, avocado | Extra glycerin, vitamin E | Lavender, geranium |
| Oily / Combination Skin | Witch hazel, green tea, distilled water | Jojoba, grapeseed, hazelnut | Niacinamide (low %), aloe | Tea tree, rosemary |
| Sensitive / Reactive Skin | Calendula infusion, chamomile water | Jojoba, evening primrose | Aloe gel, panthenol | Skip or very low dose |
| Mature Skin (35+) | Rose water, neroli hydrosol | Rosehip, pomegranate, wheat germ | Vitamin E, brewer’s yeast | Frankincense, neroli |
| Dull / Tired Skin | Green tea, rose water | Apricot kernel, almond | Vitamin C (stable form) | Sweet orange, lemon* |
| Winter / Cold Weather | Floral waters + aloe | Shea butter, avocado, olive | Beeswax (slightly more) | Vanilla, benzoin |
| Summer / Hot Weather | Light hydrosols, aloe juice | Jojoba, grapeseed | Reduce butters | Peppermint*, lavender |
* Use citrus and peppermint essential oils with caution and only in very low dilution.
How to Use This Table
- Choose one water phase + one oil phase
- Add 1–2 actives maximum
- Adjust texture by increasing water for lighter creams or oils/butters for richer ones
- Always patch test new combinations
These DIY face cream variations make it easy to match your homemade moisturizer to your skin type.
Think of this table as a guide, not a rulebook.
Your skin changes with seasons, hormones and lifestyle, your diy face cream should too.
Before applying a face cream, proper cleansing is essential, the oil cleansing method offers a gentle way to cleanse without disrupting the skin barrier.
How long do homemade face creams last?
Homemade creams without strong preservatives usually last between 2 and 4 weeks when stored in a clean, sterilized glass jar and kept in the refrigerator. Always use clean hands or a spatula to avoid contamination.
Do I need a preservative in homemade creams?
Yes, if your cream contains water, a preservative is recommended. Vitamin E acts as an antioxidant but does not fully prevent bacterial growth. For short-term use, refrigeration and small batches are essential.
Can I skip essential oils in these recipes?
Absolutely. Essential oils are optional. If you have sensitive skin or prefer fragrance-free products, you can safely omit them without affecting the moisturizing properties of the cream.
Why did my cream separate after cooling?
Separation usually happens if the oil and water phases were not at similar temperatures or if the emulsifier amount was insufficient. Reheating gently and whisking again can sometimes fix the texture.
Can I customize these creams for my skin type?
Yes. Homemade creams are highly customizable. You can adjust oils, butters, hydrosols and essential oils based on your skin type, age and seasonal needs, as suggested in the customization section.